
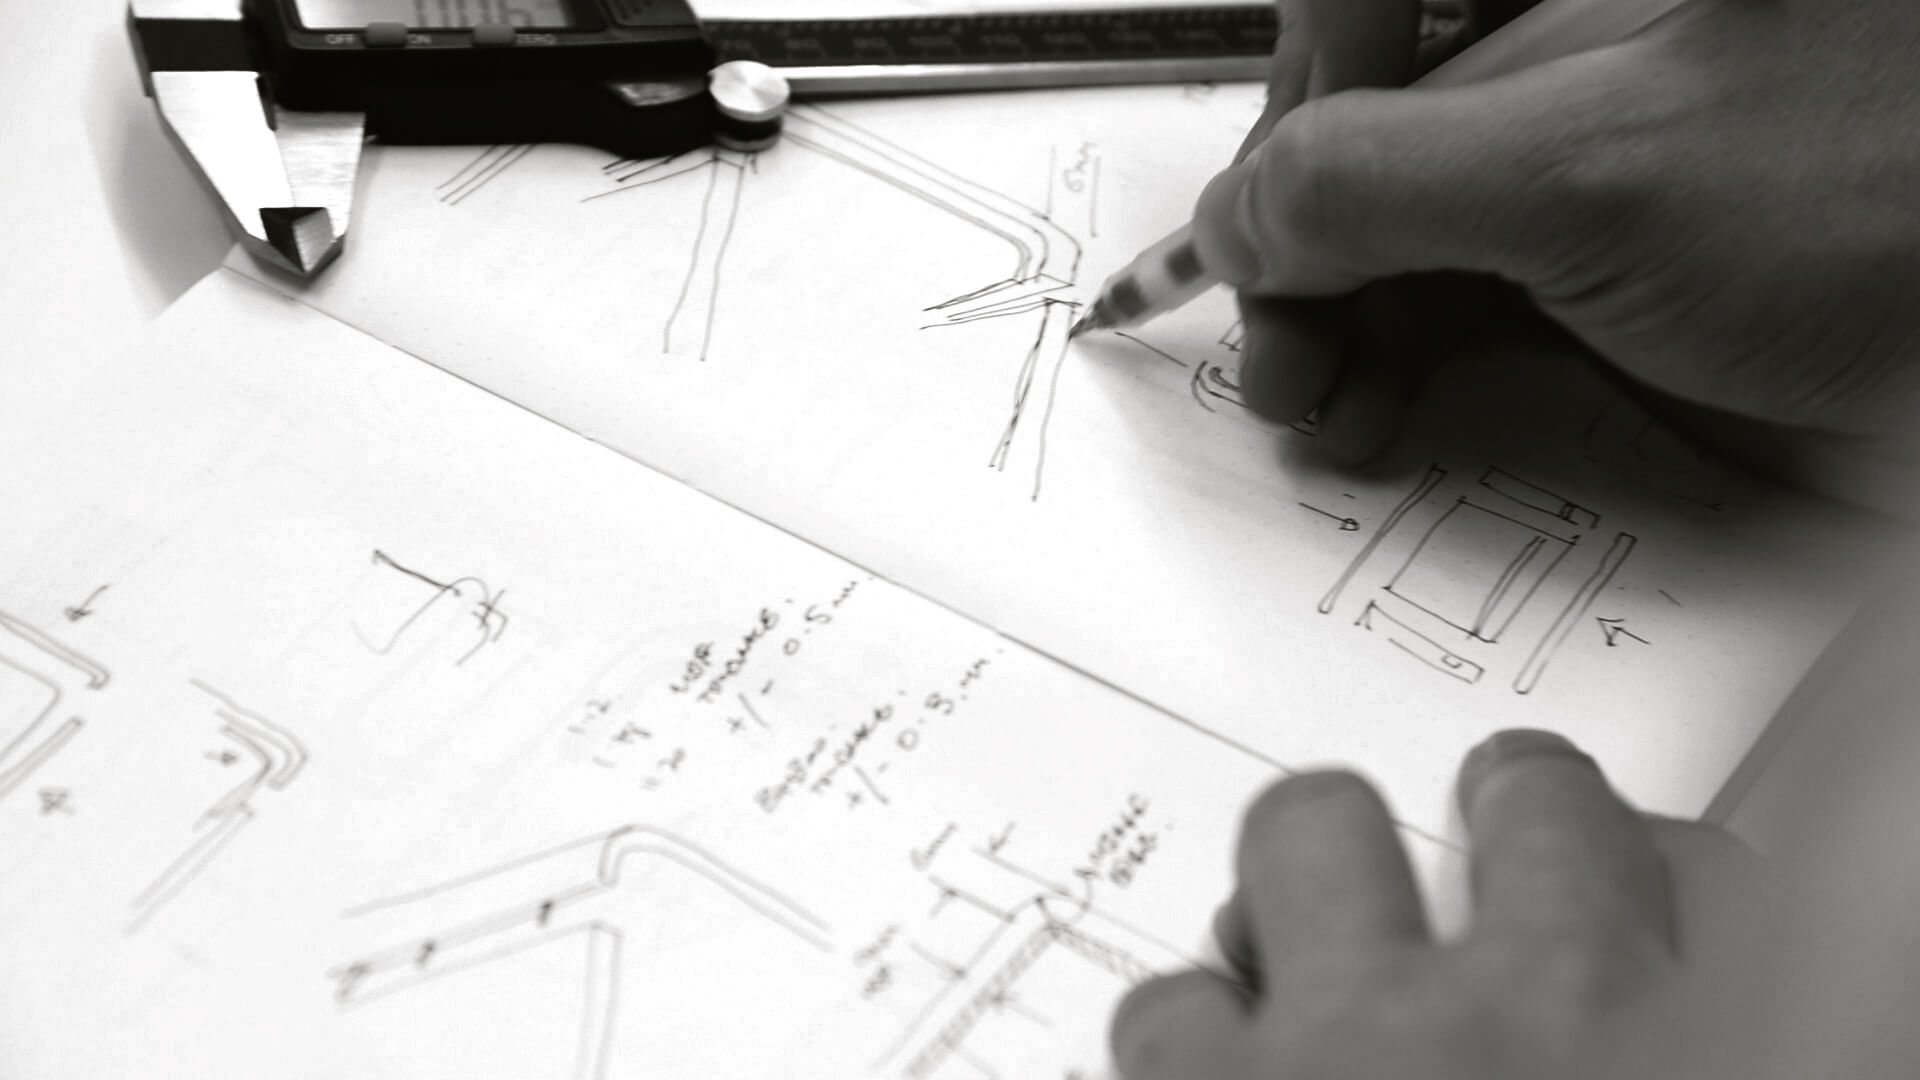
If you have a product idea, chances are you have one of these sitting somewhere already. A sketch on a notepad. A screenshot in your camera roll. In practice, a rough CAD model. A page of notes that starts strong, then tapers off into question marks. And the big question is always the same. This guide centers on sketch to shelf to keep decisions practical and buildable.
What do I do next? This is the gap most founders fall into. Not a lack of ambition. Not a lack of taste. Just a lack of a clear pathway that makes physical products feel manageable. Software has clean loops. Hardware has gravity, suppliers, tolerance, and a thousand tiny decisions that compound.
The good news is there is a pathway that works. It is not sexy. It is not linear. But it is reliable. It is the same backbone I use across consumer tech, durable goods, and physical experiences. The details change, but the rhythm stays consistent.
Quick navigation
Sketch to shelf keeps decisions grounded and reduces late-stage rework.
As a result, sketch to shelf creates clearer handover into manufacturing and launch.
- The core idea
- The pathway, step by step
- What “done” looks like at each milestone
- The common skips that cause blowouts
- A founder checklist you can use today
- How I help teams move through this quickly
Sketch To Shelf: The core idea
Sketch to shelf helps teams align design intent with engineering reality.
Most early-stage product work fails for one simple reason. People mistake motion for progress. A render feels like progress. A detailed CAD model feels like progress. As a result, a deck with a tidy story feels like progress. But physical products do not care about your deck.
Progress in hardware means you have reduced uncertainty. You have turned “we think” into “we know”. You have earned the right to move forward.
Now let’s get practical.
The pathway, step by step
Sketch to shelf keeps decisions grounded and reduces late-stage rework.
Here is the end-to-end pathway I use with clients. Think of it like a ladder. Each rung earns the next one.
Step 1, clarify the job
This is where most people skip ahead, and it costs them later.
Before we touch CAD or visuals, we lock three fundamentals:
- Who is it for? A real person, with a real context.
- What problem are we solving? Not “make something cool”, actual relief, speed, safety, confidence, convenience.
- What does success look like? In the real world, not in a meeting.
You do not need a hundred-page brief. You need a one-pager that stops drift. This is the same principle I cover in When “Make It Look Premium” Is the Wrong Starting Line. Style is the last layer, not the foundation.
Step 2, define constraints early
Constraints are not creativity killers. They are design accelerators.
Common constraints that should be visible from day one:
- Target cost and intended margin
- Expected volumes and production method
- Use environment: water, dust, UV, heat, impact, misuse
- Regulatory and safety requirements
- Servicing expectations: how long should it last, can it be repaired
- Timeline reality: what is fixed, what is flexible
When teams skip constraints, they approve a concept that collapses the moment engineering starts. If you want a practical deep dive on how constraints relate to production reality, I unpack that in Designing for manufacture, common pitfalls and how to avoid them.
Step 3, explore concepts broadly, then narrow with evidence
This is the fun part, but it still needs discipline. Early concept work should create options, not attachment. I want multiple directions on the table so we can compare, not argue. At this stage we are testing:
- Overall architecture and layout, not surface detail
- Proportion, stance, and how it sits in space
- Key interactions, where hands go, how it opens, how it mounts, how it’s carried
- Category cues, what it must communicate to be understood quickly
In consumer hardware, you can often see the difference between a concept that is “cool” and a concept that is “inevitable”. The inevitable one has logic. It feels like it belongs. This is also where visualisation can help a lot, as long as it stays honest. I talk about that balance in Rapid prototyping that actually saves time, because clarity comes from decisions, not just images.
Step 4, choose an architecture that can survive engineering
This is the pivot point. The moment a project becomes real.
Architecture is where the internal truth gets locked:
- Where do key components live?
- How does it assemble?
- Where are the seals, fasteners, cable paths, mounts?
- What is the part split strategy?
- How will a supplier actually make this at volume?
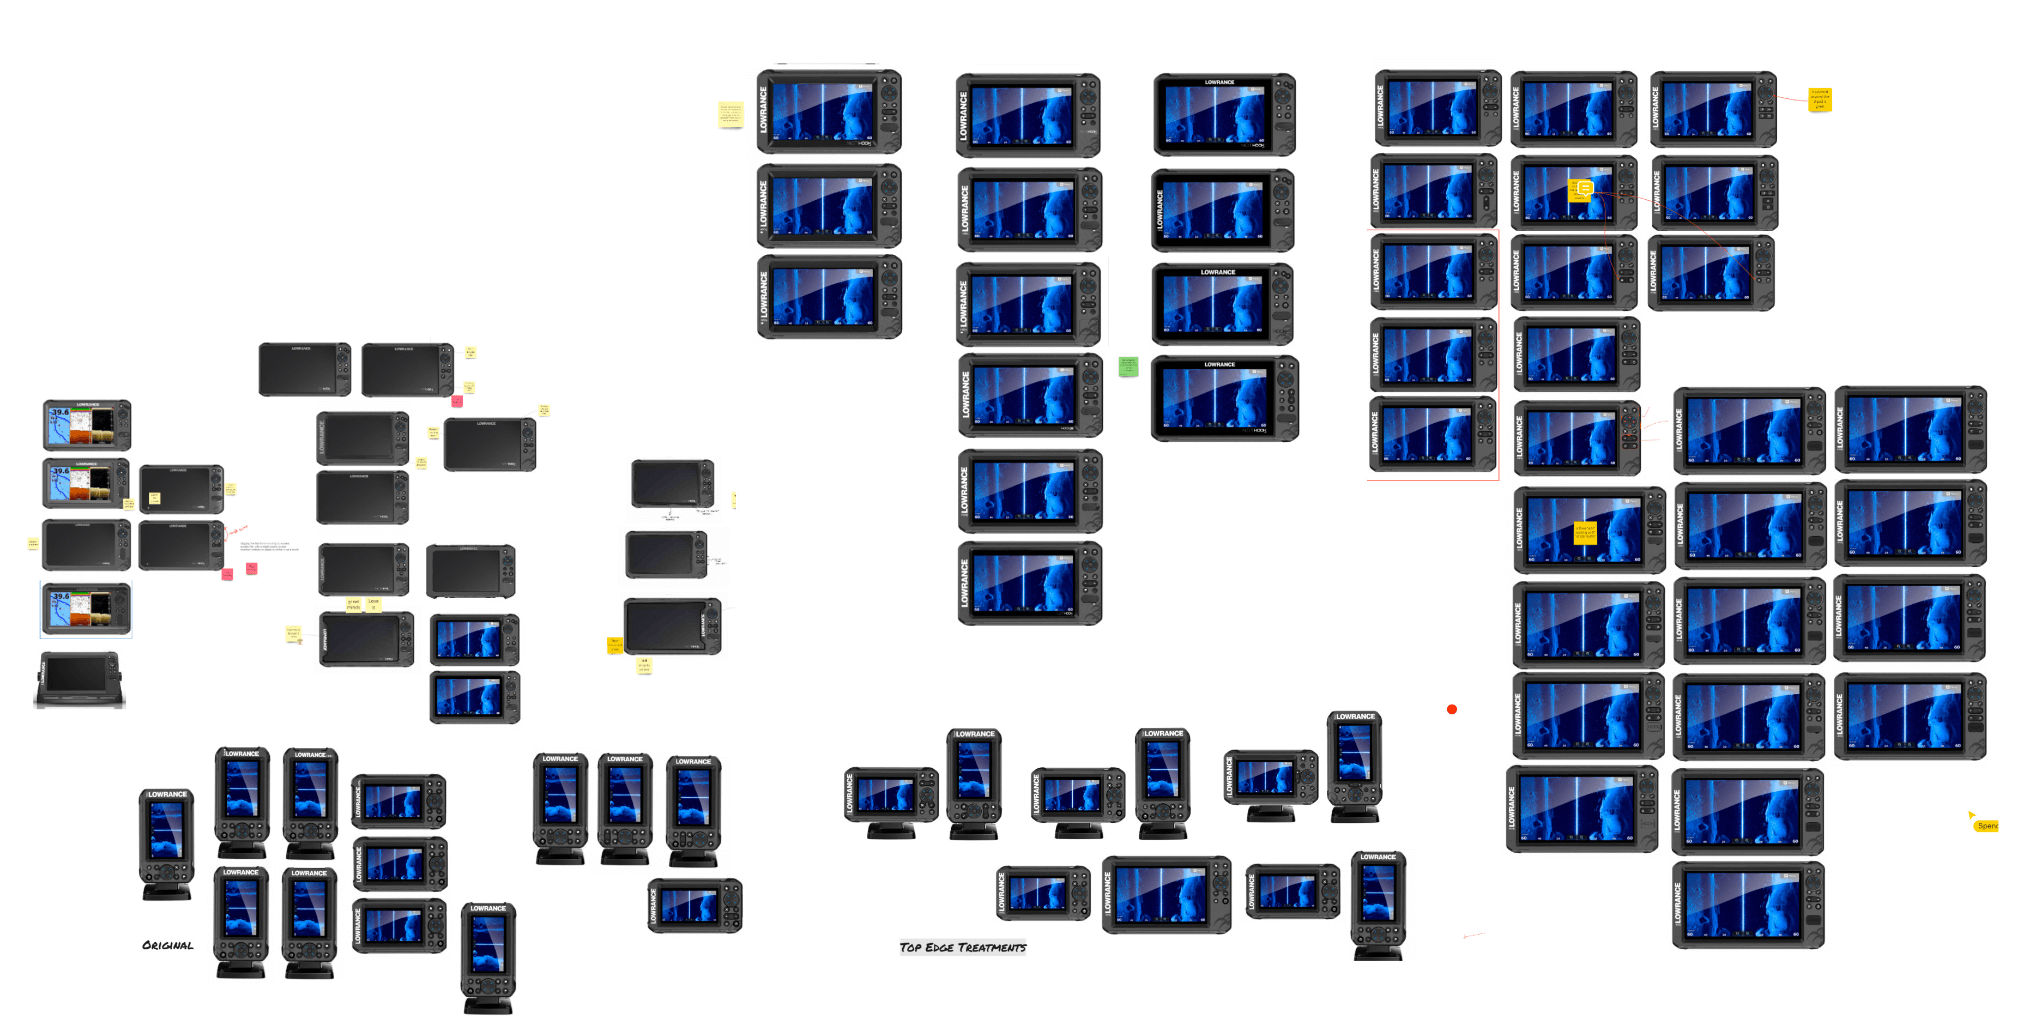
This is also where many “nice-looking” concepts die, because the internal layout was never considered. If you want a strong example of architecture and user reality meeting, have a look at Lowrance Eagle. That category demands real usability and waterproof performance, and those are architecture problems, not styling problems.
Step 5, prototype the risks first
At this stage, do not prototype the whole product. Prototype the unknowns that could break the project. Risk prototypes tend to fall into a few buckets:
- Human factors: grip, reach, visibility, button feel, glove use, one-handed operation
- Mechanisms: hinges, latches, seals, moving parts, fatigue and wear points
- Assembly: tool access, fastener sequence, cable routing, tolerance sensitivity
- Environment: water ingress, dust, shock, temperature, UV, corrosion
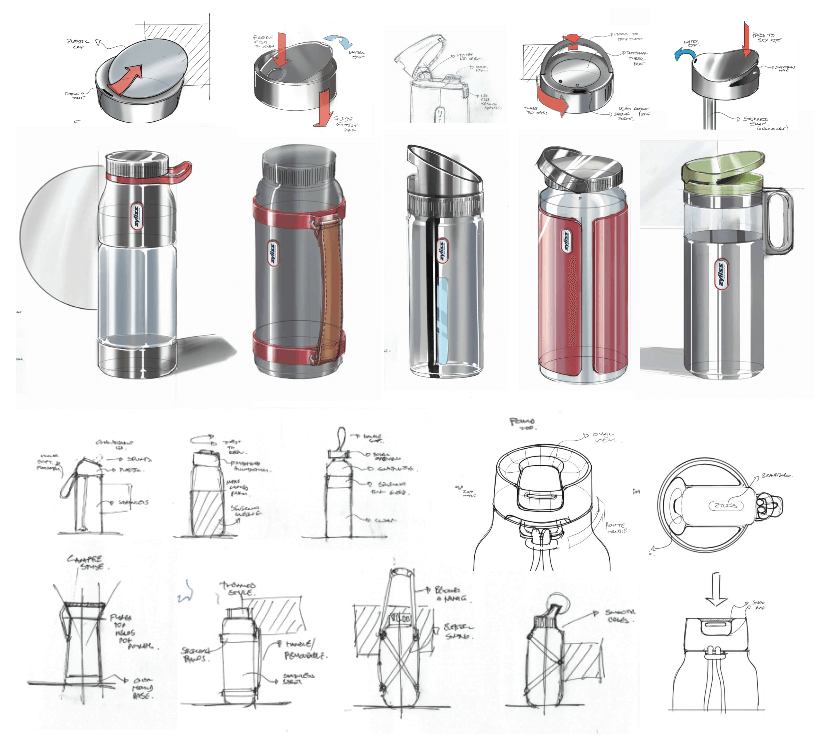
The point is to earn confidence. This is why I repeat one line often. If a prototype does not change a decision, it is theatre. You can see this kind of mechanical proof thinking in projects like Hydration Bottle, where early modelling and mechanism mockups support a credible outcome, not just a pretty one.
Step 6, design for manufacture before you spend real money
Tooling, long-lead components, suppliers, packaging, all of this gets expensive fast. So before you commit, you run a proper DFM pass. Not a casual glance. A real one.
This includes:
- Part count: what can be combined, what can be simplified
- Draft, wall thickness, ribs, bosses, undercuts, all the realities of moulding and forming
- Tolerance strategy: what needs precision, what can float
- Assembly story, step by step, with tool access in mind
- Finish strategy: what will look good and hold up in real use
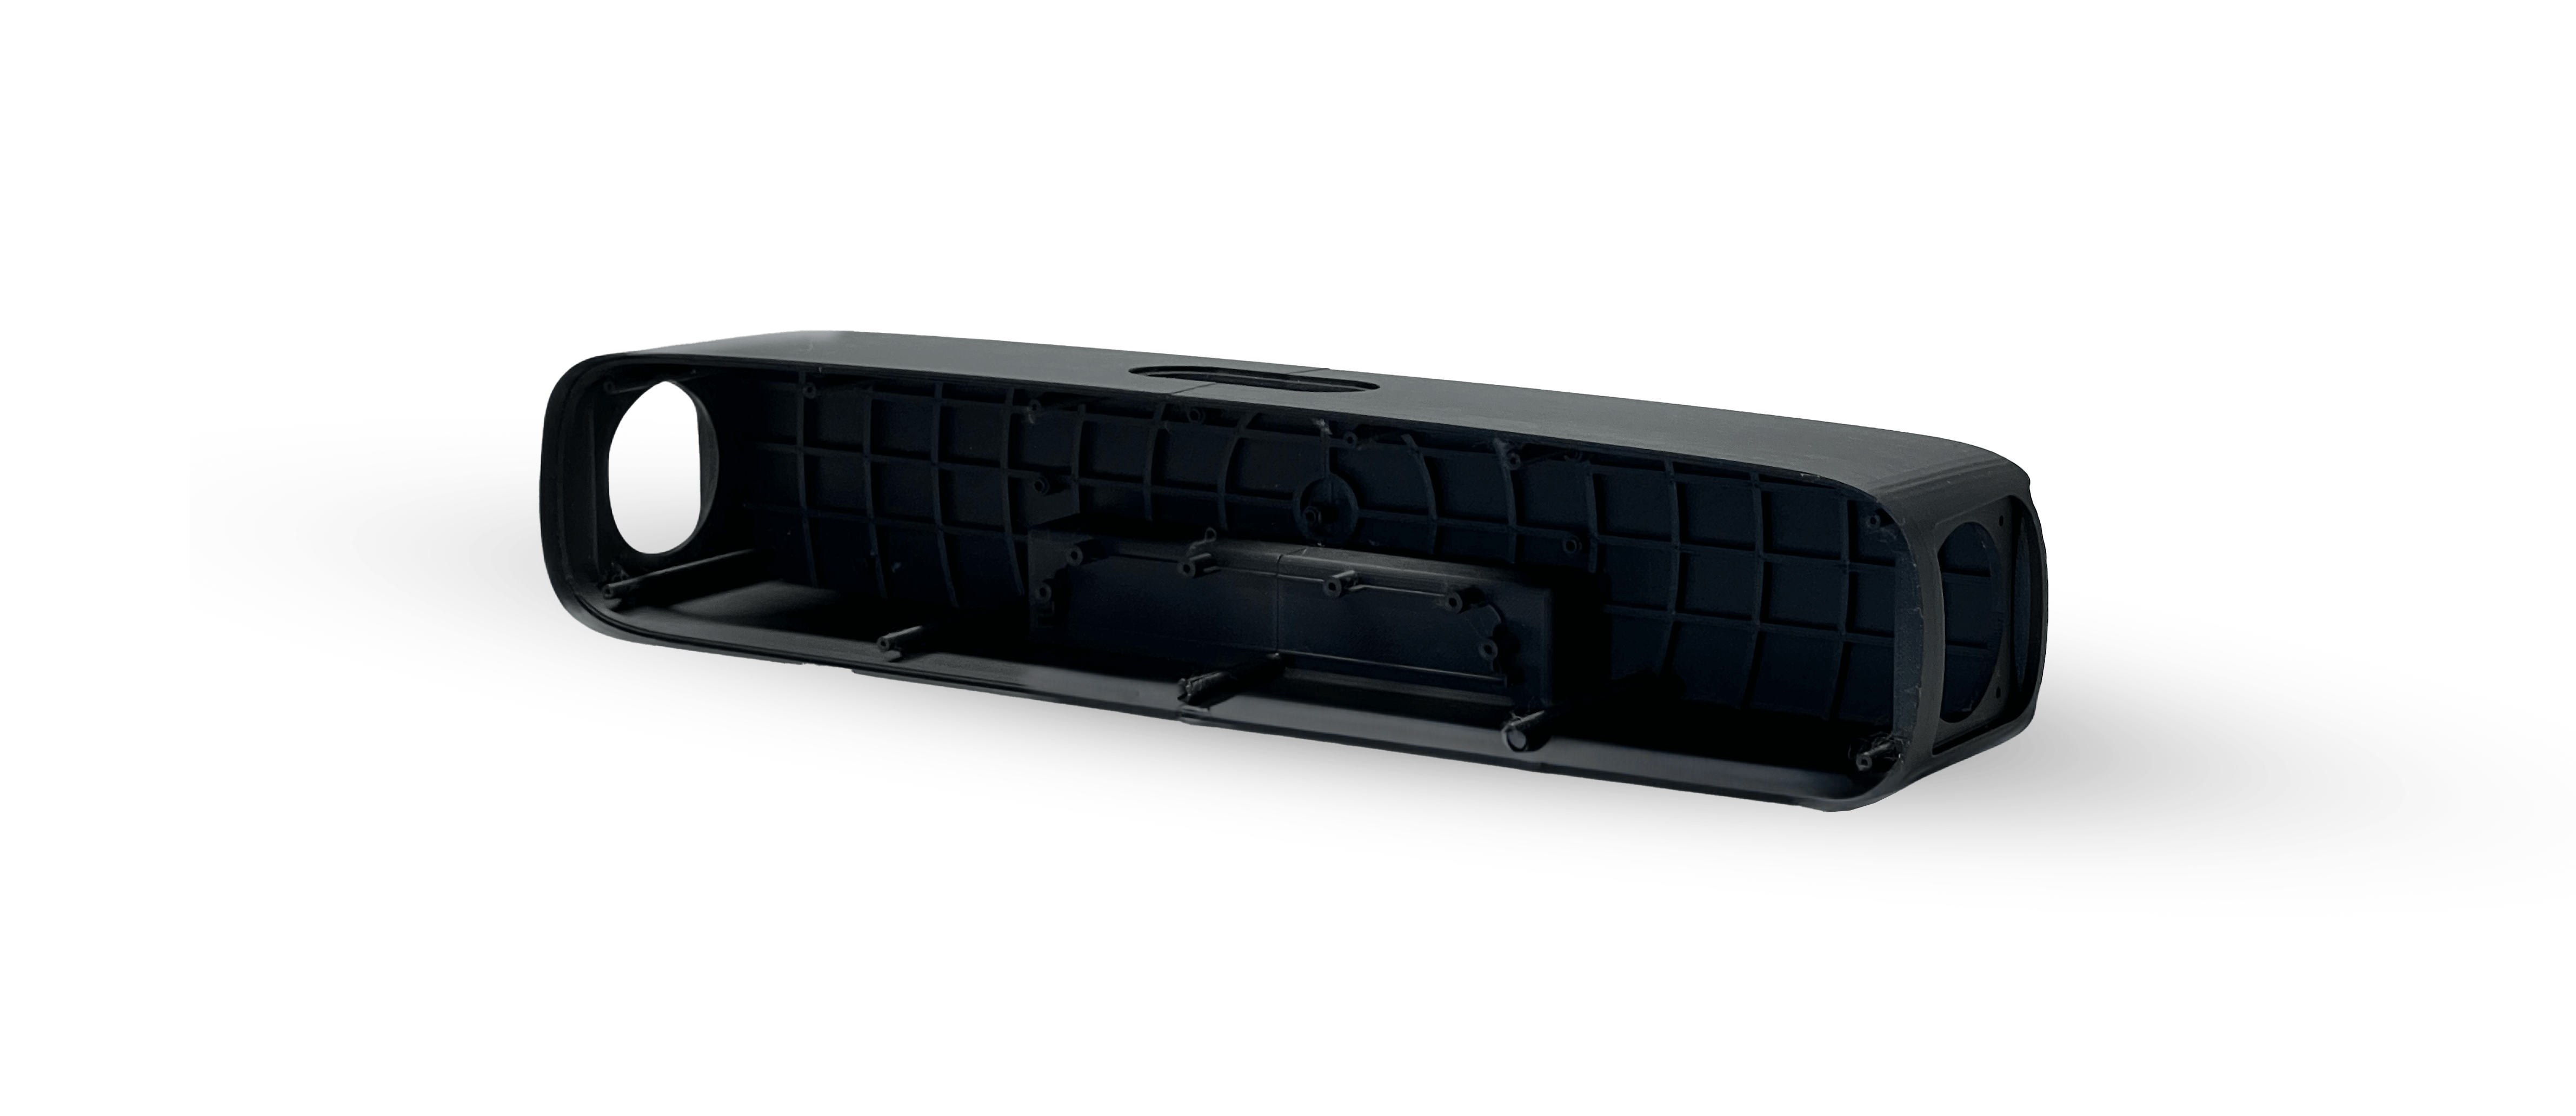
One example from my portfolio where this shows up clearly is TVTR Compact Soundbar, where production reality, dimensions, and manufacturing considerations shape the design from early on.
If you want the full breakdown of common traps, the DFM post is here again: Designing for manufacture, common pitfalls and how to avoid them.
Step 7, validation, verification, then production readiness
At this point, you move from “does it work?” to “does it keep working?” This is where proper testing, pilot builds, and quality expectations come into play. Depending on the product, this may include:
- Functional testing and user scenario testing
- Reliability tests, cycles, drops, wear points
- Environmental tests, water, dust, thermal
- Compliance preparation
- Pilot build feedback from the factory
- Packaging and logistics checks
If you are in consumer electronics, the fundamentals still matter no matter what the trend cycle is doing. I cover that lens in Designing consumer electronics, what still matters in 2026.
Step 8, launch assets and handover that does not implode
Most teams treat handover like a file export. That is where they get stung.
Good handover includes:
- Annotated design intent, what matters and why
- Assembly notes and priorities
- Materials and finish callouts
- Known risks and how they were resolved
- Quality standards and acceptance criteria
- Visual assets that marketing can use without guessing
This is where the project gets calm. Or chaotic. Calm projects are not calm by chance. They are calm because the pathway was followed with discipline.
What “done” looks like at each milestone
Here is a simple milestone map. If you are early stage, this alone can remove a lot of stress because it turns the fog into a sequence.
| Milestone | What it proves | Typical deliverables |
|---|---|---|
| Brief locked | We know the user, the job, and the success criteria | One-page brief, constraint list, scope boundaries |
| Concept directions | We explored options and can justify a preferred direction | Concept set, comparison notes, early risk list |
| Architecture chosen | The layout is feasible and the product can be built in principle | Early CAD, part split intent, assembly story draft |
| Risks proven | The unknowns that could kill the project have been tested | Prototype evidence, test notes, decisions recorded |
| DFM ready | Design is aligned to manufacturing processes and cost reality | DFM markup, tolerance strategy, supplier discussion notes |
| Validation ready | Product meets functional and real-world requirements | Test plan, pilot build learnings, revisions |
| Production handover | Factory can build it, marketing can sell it, support can service it | CAD pack, drawings, specs, quality notes, launch visuals |
The common skips that cause blowouts
If you are trying to move fast, the temptation is always to skip steps. Some skips are harmless. Most are expensive.
Skip 1, jumping to style before the job is clear
This is where teams design a beautiful solution to the wrong problem. It looks amazing, but it does not land.
Skip 2, skipping architecture
Renders hide the internals. Architecture reveals them. Skipping architecture is how you end up with an object that cannot fit its own components, cannot be sealed, or cannot be assembled.
Skip 3, testing too late
Late testing is where projects discover the obvious things at the worst possible moment. Early testing is cheap. Late fixes are where budgets go to die.
Skip 4, treating DFM like a formality
DFM is not a checkbox. It is where you protect cost, quality, and schedule.
A founder checklist you can use today
If you do not know where to start, start with questions. Good questions create good work.
- Who is the user, and what is the job they are hiring this for?
- What is the one-sentence value proposition?
- What are the non-negotiables: cost, size, environment, service life?
- Why might someone choose not to buy this?
- Which assumption is riskiest in the whole concept?
- Then, what is the lightest prototype that can test that assumption?
- How will this be manufactured, in broad terms?
- How does it assemble, step by step?
- What will fail first, and how will we design for that?
- Can it be serviced, repaired, or maintained in a realistic way?
- What does “version one” not do?
- What does success look like three months after launch, not day one?
If you can answer those clearly, you are already ahead of most projects.
How I help teams move through this quickly
I do not believe in dragging a project through an unnecessary process. I also do not believe in skipping the parts that keep it real. My job is to compress the pathway without collapsing it. That usually looks like one of three engagements:
- Early-stage clarity sprint, brief, constraints, concept directions, and a credible architecture
- Prototype sprint, risk ranking, fast builds, decisions locked with evidence
- DFM and handover support, supplier readiness, drawings, specs, production intent
If you are sitting at the sketch stage and you want a clear plan to shelf, start with Services, or head to About if you want more context on how I work. Because the goal is not to make something that photographs well. The goal is to build something that survives real use, earns trust, and ships cleanly.
Related reading
- Rapid prototyping that actually saves time
- The workshop mindset, iteration, failure, and getting it right
- Designing for manufacture, common pitfalls and how to avoid them
- When “Make It Look Premium” Is the Wrong Starting Line
- Designing consumer electronics, what still matters in 2026
 Book a Call
 Instagram.
 linkedin.